- Home
- Portrait Drawing
- Eye Drawing Hub
- How to Draw Realistic Eyelashes
How to Draw Realistic Eyelashes:
8 Top Tips (Video)
Learn how to draw realistic eyelashes in this 2-part video series!
Eyelashes are the 'icing on the cake' of an eye drawing. ... or the detail that ruins your eye drawing completely.
If that’s what’s been happening, or if you just want some tips to make the eyelashes in your eye drawings more convincing, you’re in the right place. In this video, we’ll cover 8 tips for drawing eyelashes that are realistic and believable.
Then, in the next video (Part 2 of this series), I'll show you the step by step process of drawing realistic eyelashes, so you know exactly how to apply these tips to your drawing.
Before you start, don't miss the free:
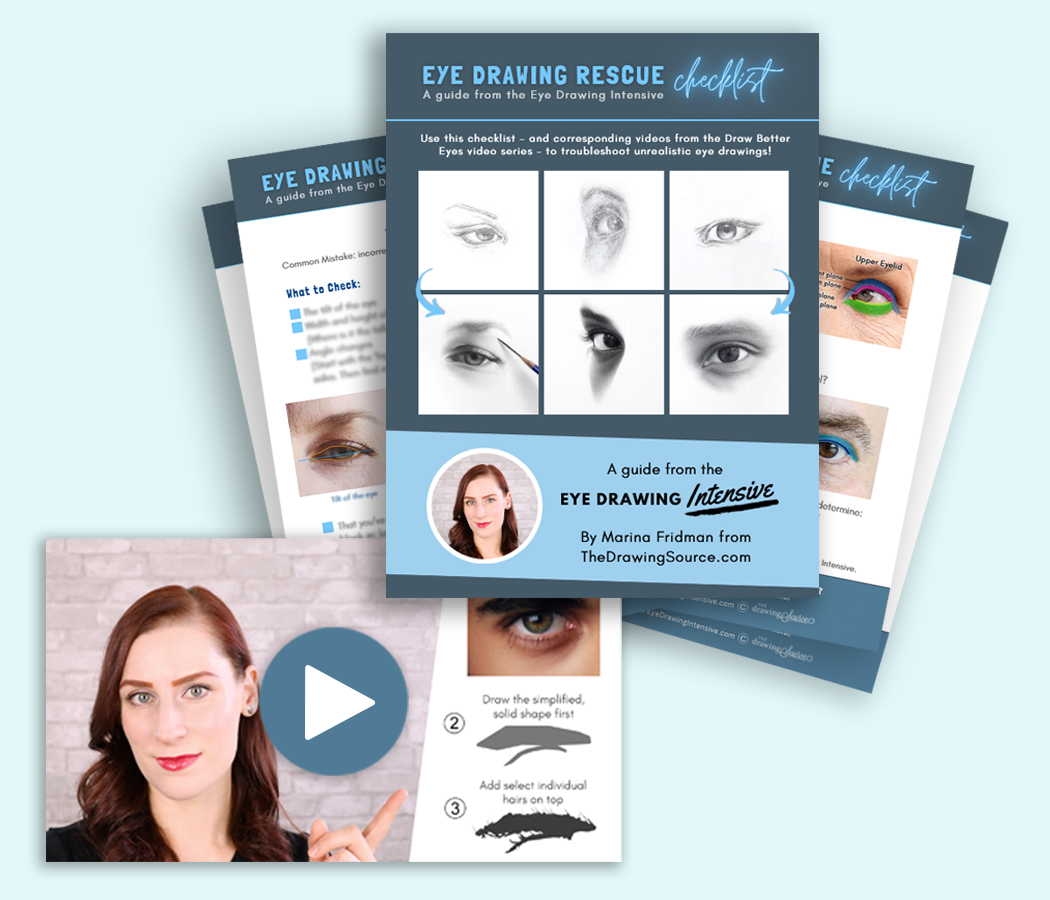
Draw Better Eyes Toolkit
Fix the most common mistakes making your eye drawings look flat and unrealistic with 6 short video lessons and the Eye Drawing Rescue Checklist. Get the Toolkit here!
Watch the video here:
A F T E R T H I S L E S S O N
Don't miss Part 2 of this video series:
And these eye-drawing lessons:
- Draw Better Eyes Toolkit!
- How to Draw Realistic Eyes: Step by Step Tutorial
- How to Draw Realistic Eyebrows: Step by Step Tutorial
Or, transform your eye drawings in the:
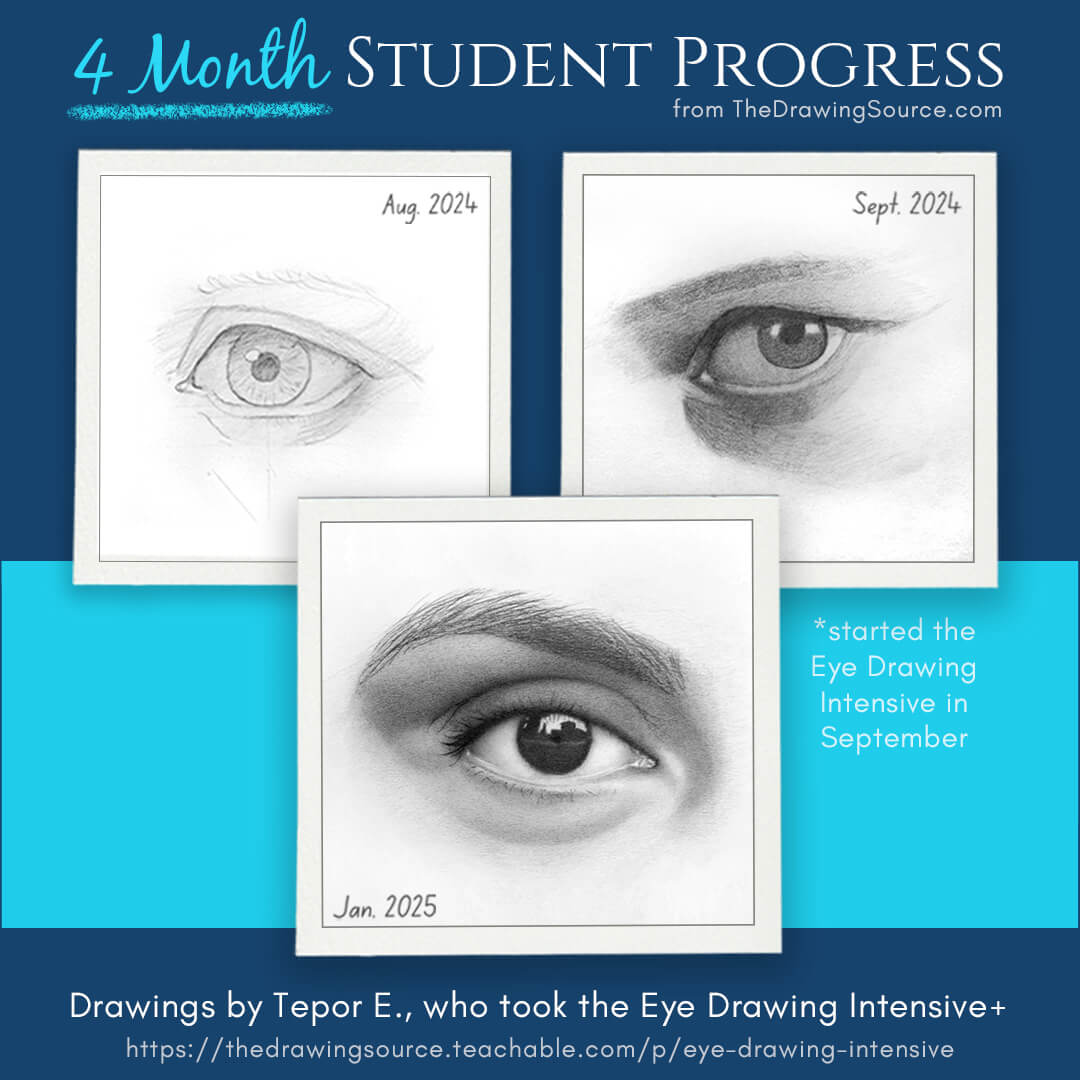
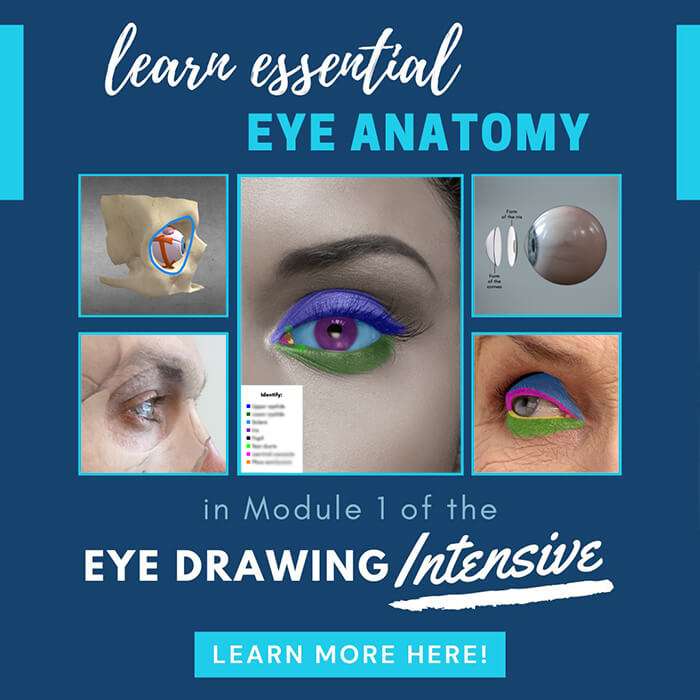
- Eye Drawing Intensive: Your shortcut to drawing realistic, evocative eyes that add emotion and empathy to your portraits!
Prefer to read? Here is the article version of the video!
(... there is more info in the video, though, I recommend it!)
8 Top Tips for Drawing More Realistic Eyelashes
How to Draw Realistic Eyelashes
Tip 1) Only add eyelashes once the forms underneath
them are shaded.
A very common mistake in eye drawings (or really any drawing) is adding certain details too soon. In drawing, we work from the background to the foreground, and this becomes especially important when drawing eyes and eyelashes.
For example, notice the stage that the eye drawing below is at before I start drawing eyelashes. Notice that all the forms underneath the eyelashes are finished, or rendered, before I add the eyelashes.
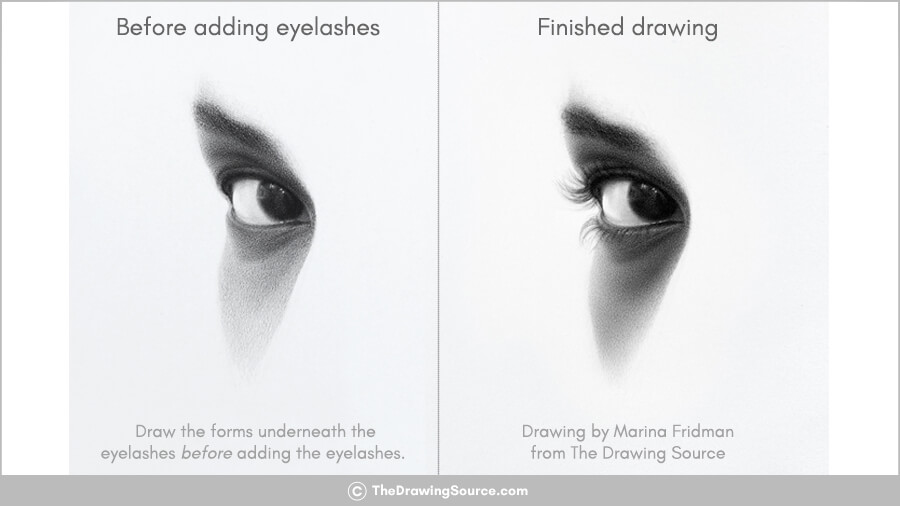
We can see both planes of each eyelid. We can even see the
eyeliner that this individual is wearing! All of these details
would have been very difficult or impossible to add if I had drawn the
eyelashes any earlier than this.
Only at this stage, once the forms underneath the eyelashes are fully rendered, do I start drawing the eyelashes, and that’s what I recommend that you do as well.
Eyelashes
are more of a finishing touch that should be added close to the end of your
drawing. Before then, when I observe my model, I look through the eyelashes,
ignoring them completely, with one
exception:
Exception:
If there is
an area where the eyelashes merge together into a prominent shape, I will add that particular grouping earlier than usual.
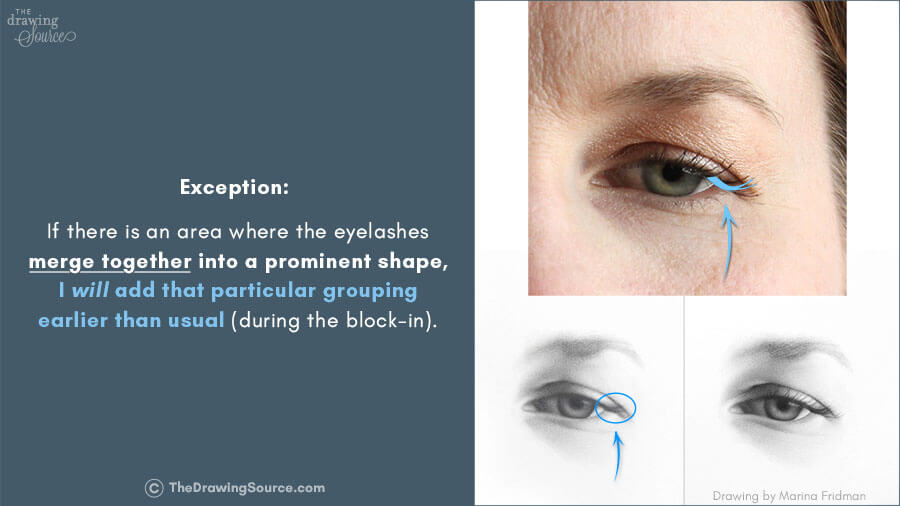
In the drawing above, for example, which you can draw with me in my Eye Drawing Intensive, I added this grouping of eyelashes because it was such a distinct shape that it actually helped me draw the correct proportions in this whole area.
When eyelashes merge into such a distinct shape, I find it more challenging to ignore it, more difficult not to indicate that shape. So I did add it earlier than usual. But notice this is the only area where I indicated any eyelashes until close to the end of my drawing.
How to Draw Realistic Eyelashes
Tip 2) Map out
the eyelashes lightly before committing to them with dark, sharp lines.
In drawing,
we usually work in ‘passes,’ or stages. In the first pass of a block-in, for
example, you might lightly map out general proportions. In the second pass, you
get more specific.
We can do
the same thing when drawing eyelashes. Embrace working in a few ‘passes’ –
usually two, maybe three for me. We start lightly, so that we can analyze what
we’re seeing and accurately place the eyelashes before committing to them with
those dark, sharp lines.
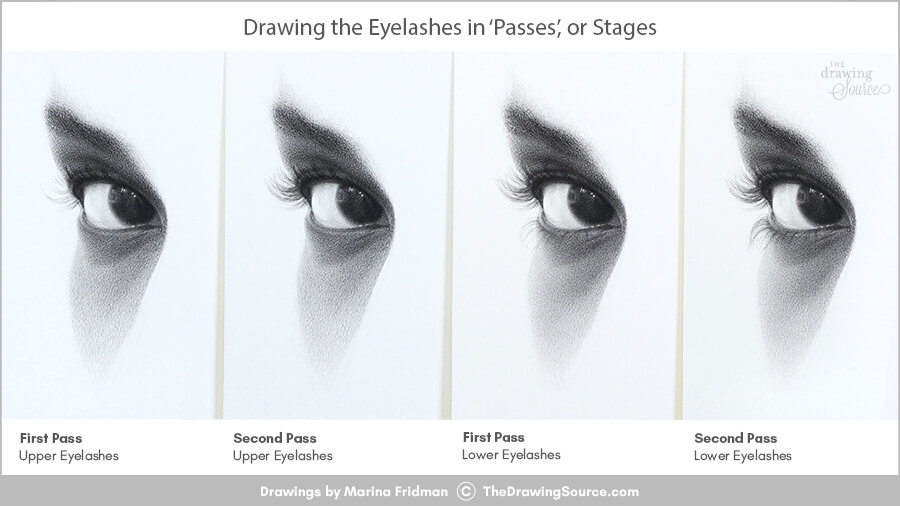
Don't miss this video tutorial, where I show you the step by step process of drawing the eyelashes above!
How to Draw Realistic Eyelashes
Tip 3) Analyze
what you're seeing before you draw.
Because eyes
and eyelashes are so remarkably unique from one person to the next, nothing
replaces close observation. So:
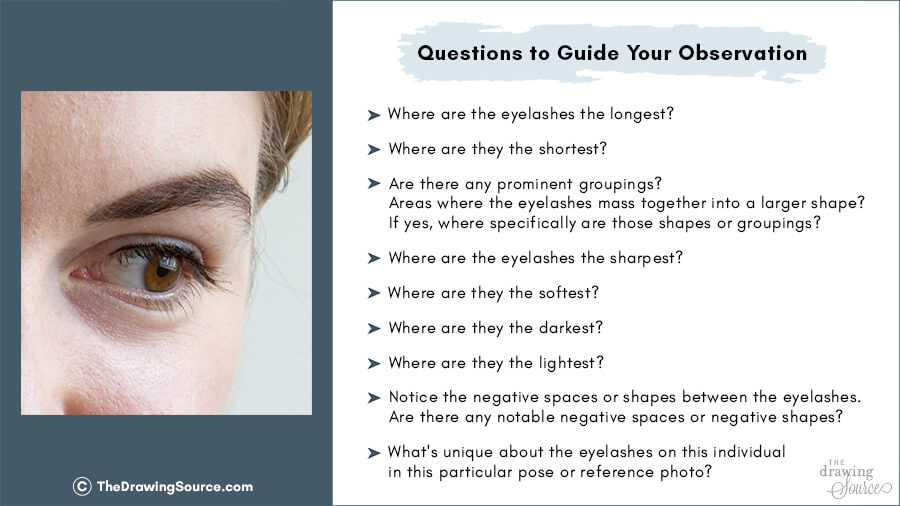
Before you start drawing eyelashes, ask yourself:
- What's happening with the eyelashes in this scenario, what are they
doing?
Be very specific with this. How specific?
Here are some questions to guide your observation.
We can notice:
- Where are the eyelashes the longest?
- Where are they the shortest?
- Are there any prominent groupings? Areas where the eyelashes mass together into a larger shape? If yes, where specifically are those shapes or groupings?
- Where are the eyelashes the sharpest?
- Where are they the softest?
- Where are they the darkest?
- Where are they the lightest?
- Notice the negative spaces or shapes between the eyelashes. Are there any notable negative spaces or negative shapes?
- What's unique about the eyelashes on this individual in this particular pose or reference photo?
Because as
soon as the model turns their head, the eyelashes and all the forms of the eye
will change.
This might seem like a lot to think about, but
this is why you’ll often hear that "learning to draw is mostly learning how to
see". If we don’t notice these thing visually first, are we going to draw them?
No. You can’t draw what you can’t see. Once you train your sight to become this sensitive, your eye will notice these things for you, and it won’t feel like you’re having to consciously think about them.
If drawing becomes a series hobby for you, your vision will transform over time, and you’ll start viewing the world around you with a heightened sensitivity. It’s really very exciting.
So, only once you're seeing these nuances do I suggest that you actually pick up a pencil and start drawing. Not before. Because you’ll only draw as well as you can see.
The more
sensitively you observe, the more realistic your drawing will be. The less
sensitively you observe, the less realistic and believable your drawing will
be. It's as simple as that.
If you’re enjoying this
lesson, it’s from my Eye Drawing Intensive – an in-depth course made to
transform your eye drawings, just as I have and as my students have.
How to Draw Realistic Eyelashes
Tip 4) Simplify
the eyelashes by grouping them together.
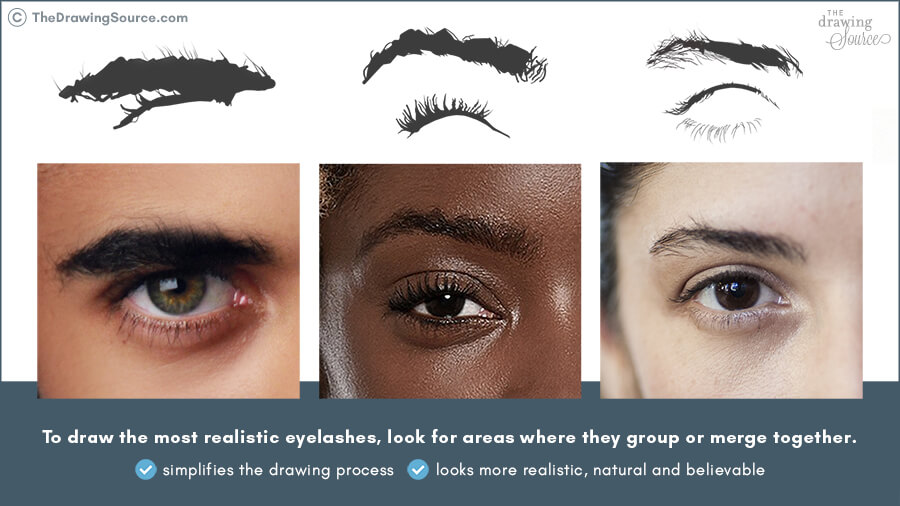
You will rarely come across eyelashes where each one is a perfect individual hair. More often than not, especially when someone is wearing makeup, a few eyelashes might stick together, creating either a thicker line or a distinct shape.
To draw the most realistic eyelashes, look for areas where they group or merge together.
Noticing and
drawing this simplifies our drawing process and looks more realistic, natural
and believable.
How to Draw Realistic Eyelashes
Tip 5) Squint at
the eyelashes to find
groupings, and to determine where they are more and less prominent.
When we
squint (so, half-close our eyes and view our subject or model with half-closed
eyes), several things happen.
For example, details merge together, showing us groupings more clearly. Contrast can also increase, so dark areas look darker and light areas look lighter.
Squinting can also show us where the sharpest edges are in the scene. The sharpest edges are the ones that continue to look the sharpest while we’re squinting.
If you’re unfamiliar with the concept of edges, don’t miss the Edge lesson of my free Mini-Course.
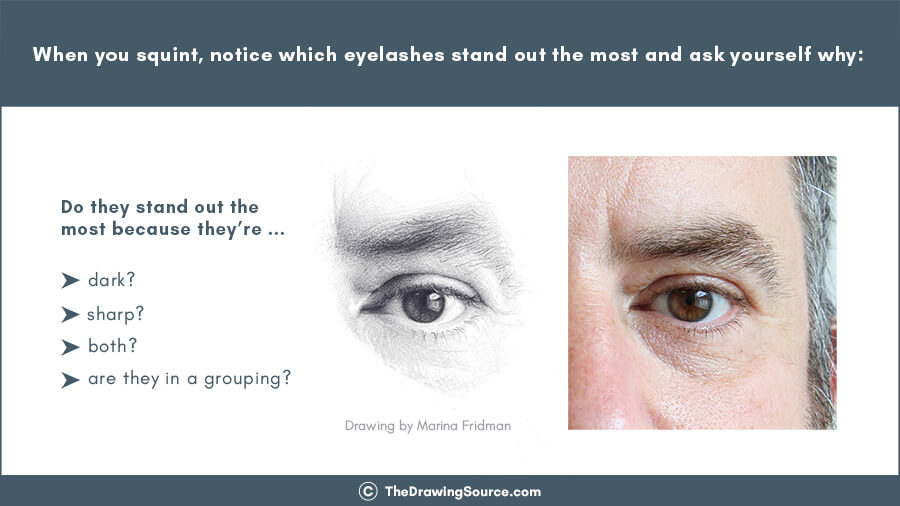
So, when I suggest squinting to see where eyelashes are more and less prominent – prominent can mean that they’re darker, sharper, or both. Less prominent can mean that they are lighter, softer, or both.
When you
squint, notice which eyelashes stand out the most and ask yourself why – do
they stand out the most because they’re dark? Sharp? Both? Or are they in a
grouping? Then re-create that on your drawing.
How to Draw Realistic Eyelashes
Tip 6) Create a
balance of unity and variety in the eyelashes.
This is a cornerstone of composition, no matter what you’re drawing. Too much sameness, or unity, can look boring. Too much variety can look chaotic and disjointed.
We want to find a balance of both, for our eyelashes to look realistic and natural.
How do we do that?
From time to time, step back from your drawing, and ask yourself:
- Are the eyelashes looking the same everywhere?
- If so, where can you create more variety? By lightening, darkening, sharpening, softening, grouping, or ungrouping some of the eyelashes?
If you think there's too much variety in the eyelashes, if they look very chaotic, ask yourself:
- Why do they look chaotic? Notice all the variations you have going on in the drawing. Maybe the eyelashes aren’t fanning out in a logical way, maybe they’re jutting out at every possible angle. Maybe each eyelash is a different value. This will take some analysis.
Then, ask yourself:
- Where can you create more unity? More sameness? This can be through grouping, reducing contrast in some areas, etc.
Finally, look at the reference and ask yourself:
- Where are the eyelashes most similar?
- Where is the greatest variety? Then, recreate that in your drawing.
How to Draw Realistic Eyelashes
Tip 7) When beginning your drawing, start
with the eyelash that's easiest for you to locate and draw accurately.
This might
be different for everyone. For me in
the drawing below, for example, it was the farthest eyelash on the upper eyelid. As
I drew it, I visualized a horizontal line through the point where the eyelids
meet, and looked to see: how far above this line is this eyelash?
Then I
visualized the same line on my drawing to help me place the eyelash. I’ll show
you the entire step by step tutorial of drawing the eyelashes here in the next
video.
When you’re
looking for the easiest eyelash to start with, check for landmarks that make it
easy to position. Maybe it’s right in line with another part of the eye. Maybe
there is a very distinct negative shape right next to the eyelash.
In this case, I might start with this eyelash, because it flows right into the contour of the iris. That feels like the easiest one to place for me.
Here, I might start with this one, because I’m noticing that, if we divide the iris into three, this eyelash almost lines up with this third of the iris.
Drawing is a problem-solving activity, and we always want to be looking for relationships between two elements to make sure we’re placing them correctly.
Before we move on to the last tip - as you can see, there’s so much to learn about every feature of the face, and that’s why I teach how to draw the features – the eyes, nose, lips, etc - separately first, before combining them into portrait drawing as a whole.
If
you’re ready to transform your eye drawings, I invite you to learn more about
my Eye Drawing Intensive, which I will link to in the description box below.
How to Draw Realistic Eyelashes
Tip 8) Be
intentional by spending more time looking than you do drawing.
As you know by now, drawing eyelashes is not a ‘free-for-all’ where you just randomly draw hairs sticking out in all directions. At least, not if you want them to look as realistic and believable as possible.
Instead, let’s move slowly and intentionally. Allow it to be meditative.
Observation that’s completely engaging is actually one of my favorite parts of drawing - when I feel so present in the process of close observation that there is no room for thought. I’m not wondering what I’ll have for lunch, I’m not thinking anything. I’m fully there in the present moment, observing this fascinating subject.
In the next video, I’ll show you the step by step process of
drawing eyelashes, so you can see all of these tips in action, and learn how to
apply them to your drawings.
Next Steps
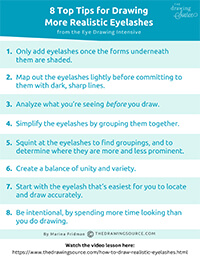
1) Download the checklist below to remember these 8 tips for drawing realistic eyelashes.
Downloadable Checklist
2) Watch the full Draw Better Eyes video series!
3) Ready to transform your eye drawings? Learn more about my Eye Drawing Intensive:
Happy drawing,

If you enjoyed this page on how to draw realistic eyes, you may also be interested in ...
Related Pages
How to Draw Eyelashes: Step by Step Tutorial [Video]
Realistic Eye Drawing Tutorial
How to Draw Eyebrows: Step by Step Tutorial
How to Start a Portrait Drawing
Return from How to Draw Realistic Eyelashes to:
The Eye Drawing Hub | Portrait Drawing | Drawing Tutorials | Home
